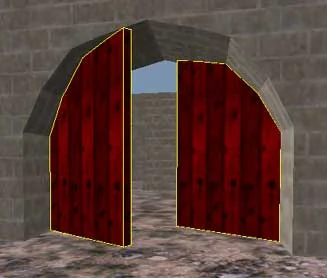
In this article we will look at a simple way to create arches, which are found on many maps (dust, aztec, inferno, cbble and many others).
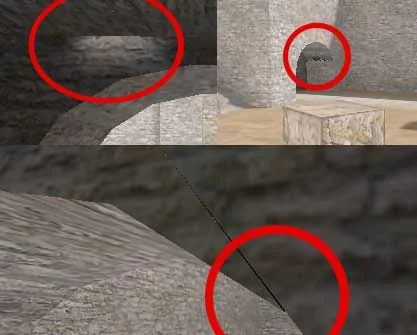
Let's make a reservation right away that we do not recommend using this method, at least for the final version of the map, because the lighting of the edges of the arch may not be of very high quality due to the peculiarities of the WorldCraft/Hammer editor when creating them.
The picture below clearly shows the "results" of the editor's work after compiling the map.
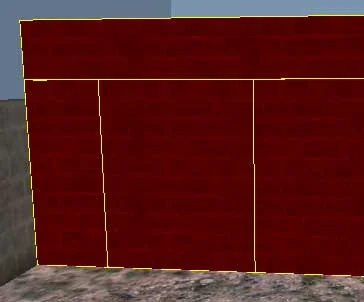
First you need to cut a rectangular hole in the wall in which there will be an arch (or rather, you just need to cut the wall). This can be done either using a tool Clip, or using Carve, or even separate brushes - whatever you want.
Then select the tool Block and in the "New Object" panel set Cilinder. Set the number of sides: 12. We create a cylinder equal in width to the opening in the wall and make it thicker than the wall so that it "looks out" from both sides of the wall (see figure below). The cylinder should be placed in the upper part of the opening so that its edge touches the top edge of the brush.
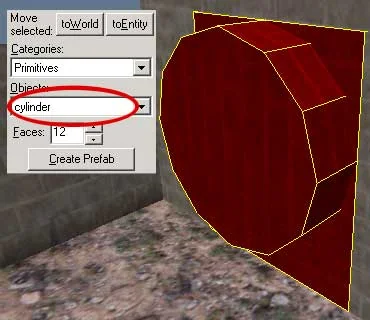
Now select the cylinder and apply the function to it Carve. From this moment on, we no longer need the cylinder, so we remove it. As a result, we should end up with a hole like this, made up of 12 brushes (see figure below).
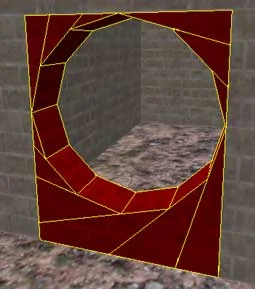
Select this group of brushes and click the button Ungroupto get individual brushes. After that, remove unnecessary 6 brushes (bottom), leaving the top ones. As a result, we will be left with brushes that form an arch.
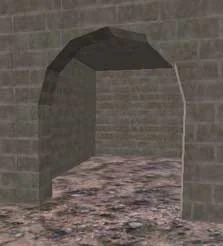
This is a simple method for creating arches. Its main disadvantage is poor connection of brushes, which can result in so-called artifacts (bugs with lighting, flickering of brushes in the game, etc.).
In the next article we will look at an advanced way of creating arches using vertex manipulation. Using manipulation, we will tightly fit the brushes to each other, thereby removing possible bugs.
arch.zip [31Kb] - in the archive there is an example map in BSP and RMF formats.
Let's make a reservation right away that we do not recommend using this method, at least for the final version of the map, because the lighting of the edges of the arch may not be of very high quality due to the peculiarities of the WorldCraft/Hammer editor when creating them.
The picture below clearly shows the "results" of the editor's work after compiling the map.
First you need to cut a rectangular hole in the wall in which there will be an arch (or rather, you just need to cut the wall). This can be done either using a tool Clip, or using Carve, or even separate brushes - whatever you want.
Then select the tool Block and in the "New Object" panel set Cilinder. Set the number of sides: 12. We create a cylinder equal in width to the opening in the wall and make it thicker than the wall so that it "looks out" from both sides of the wall (see figure below). The cylinder should be placed in the upper part of the opening so that its edge touches the top edge of the brush.
Now select the cylinder and apply the function to it Carve. From this moment on, we no longer need the cylinder, so we remove it. As a result, we should end up with a hole like this, made up of 12 brushes (see figure below).
Select this group of brushes and click the button Ungroupto get individual brushes. After that, remove unnecessary 6 brushes (bottom), leaving the top ones. As a result, we will be left with brushes that form an arch.
This is a simple method for creating arches. Its main disadvantage is poor connection of brushes, which can result in so-called artifacts (bugs with lighting, flickering of brushes in the game, etc.).
In the next article we will look at an advanced way of creating arches using vertex manipulation. Using manipulation, we will tightly fit the brushes to each other, thereby removing possible bugs.
arch.zip [31Kb] - in the archive there is an example map in BSP and RMF formats.
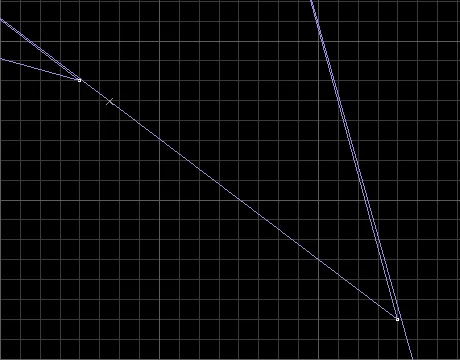 Our task is to tightly dock the brushes that make up the arch to each other. To do this, we will not make an arch by cutting a cylindrical hole in the wall, but will create it (the arch) from individual brushes using manipulation with vertices.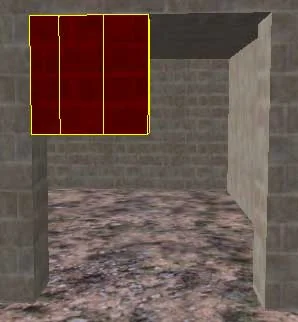
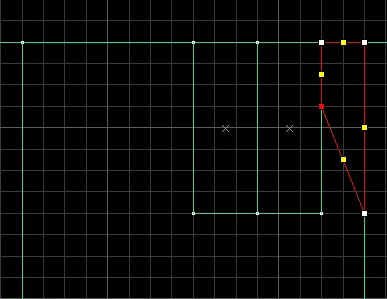 Select the second brush. We combine its lower right vertex with the one we just moved, and raise the other one a little higher (see the figure below).
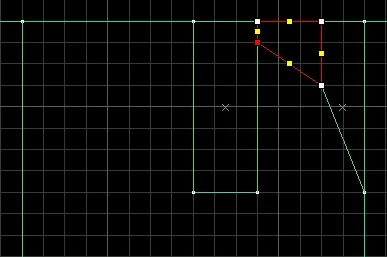 And the last third brush. In the same way, combine the lower right vertex with the left vertex of the second brush. And we combine the lower left vertex with the upper left (you get something like a triangle).
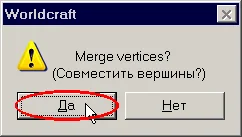
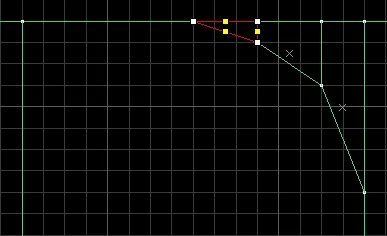 We will be asked a question translated into Russian: "Should we combine the vertexes?", we answer "YES".
 Well, well, half of the arch is ready. Now all that remains is to copy these 3 brushes and paste them side by side, rotating them 180° in the top view.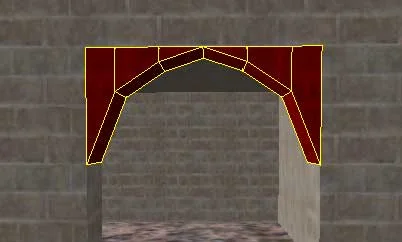
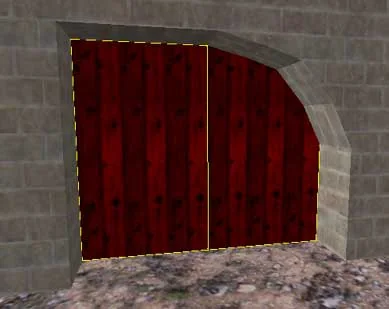
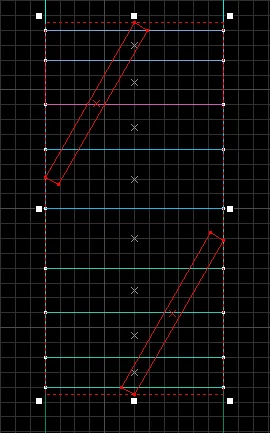 If the sashes "fit" into the side walls, then they can be trimmed along the wall, using a top view - the red part will be cut off (see figure below)
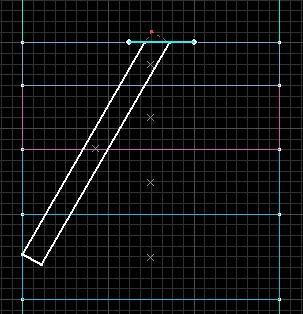 Now let's select one of the doors and set the front view. Let's start cutting off the excess parts of the sash (the sash is square, so they "fit" into the arch; we will give them the shape of an arch). To do this we will use the tool Clip, while the blue cut line (see figure below) is compatible with the lower edge of the outer brush of the arch. One of the pieces of the sash (indicated by the red dotted line) will be removed.
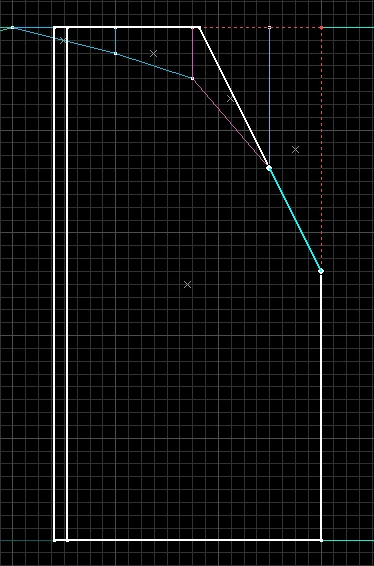 Then we transfer the cut line to the lower edge of the second brush of the arch. Please note that the white dots that define the direction of the cut line completely coincide with the lower vertices of the arch brush. So gradually we will cut off all the unnecessary parts of the gate leaves and give their upper part the shape of an arch.
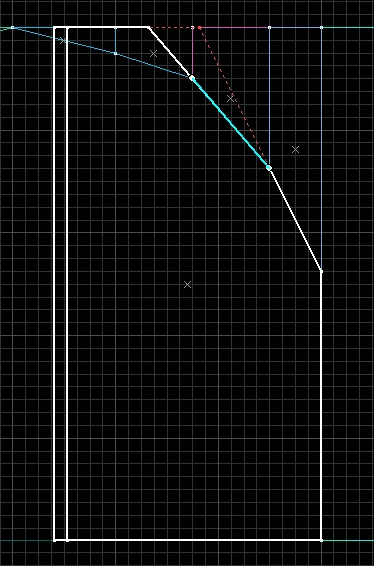 We transfer the cut line to the lower edge of the third brush of the arch.
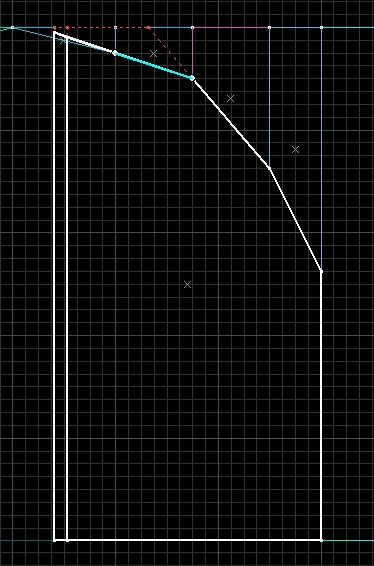 And cut off the last small piece at the top of the sash. Please note that we place the left point that forms the cut line not on the border of the sash, but combine it with the top point of the arch, i.e. The cut line again follows the direction of the lower edge of the fourth brush of the arch.
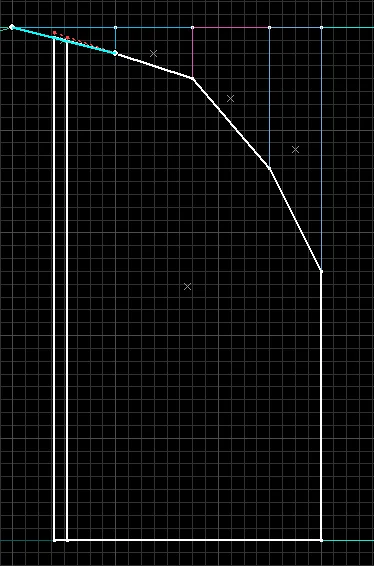 In the same way, it is necessary to trim the second sash. As a result, we should have a pretty beautiful gate.