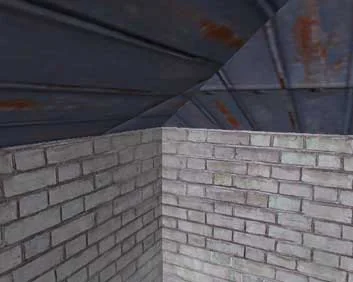
In this article we will talk about the technique of creating sloped roofs.
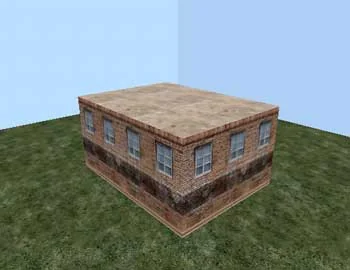
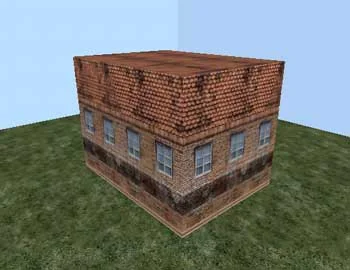
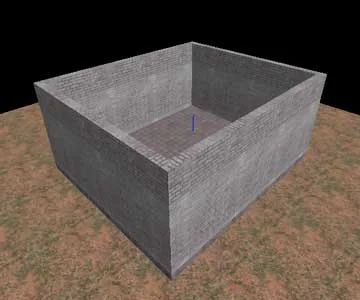
So, first we build a brush over the house:
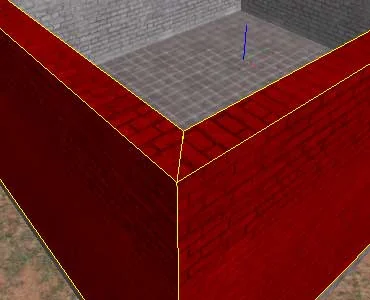
Select the brush and switch it to vertex editing mode. Now you need to select two yellow middle vertices belonging to the same plane and click Ctrl-Fto draw an additional edge.
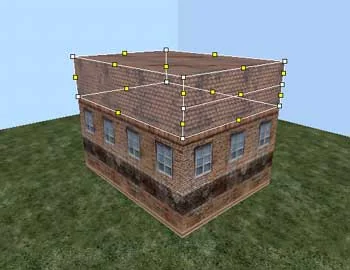
Then we draw additional ribs on the remaining sides of the roof.
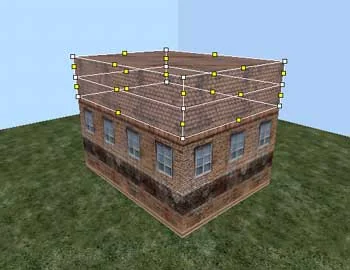
Now select all the newly formed vertices and lower them down (this is convenient to do in a 2D view).
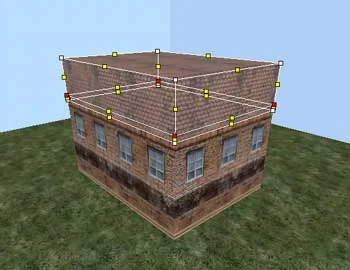
In the 2D-side and 2D-front views, we form the slope of the roof by moving the upper vertices.
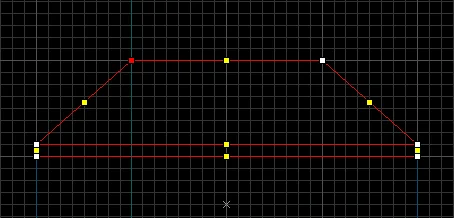 As a result, the roof will look like this:
So, first we build a brush over the house:
Select the brush and switch it to vertex editing mode. Now you need to select two yellow middle vertices belonging to the same plane and click Ctrl-Fto draw an additional edge.
Then we draw additional ribs on the remaining sides of the roof.
Now select all the newly formed vertices and lower them down (this is convenient to do in a 2D view).
In the 2D-side and 2D-front views, we form the slope of the roof by moving the upper vertices.
As a result, the roof will look like this:
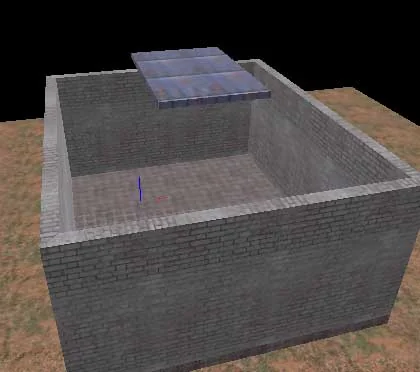
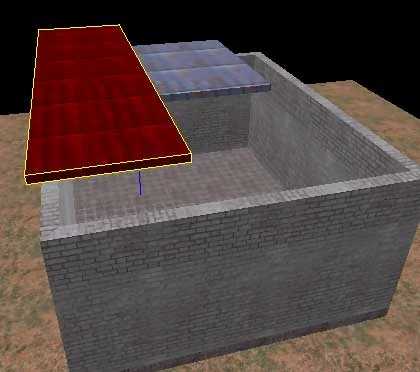
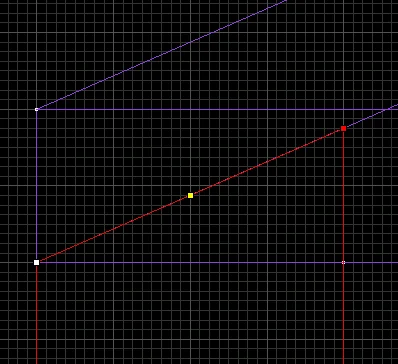
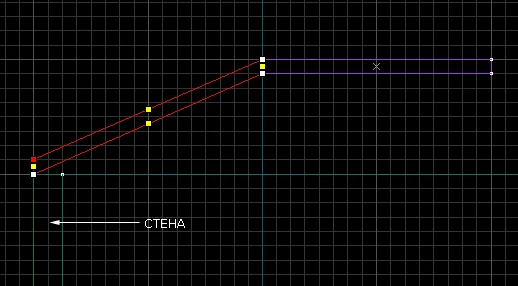 In the top view, dragging the vertices, we make a trapezoidal one from a rectangular, already inclined brush.
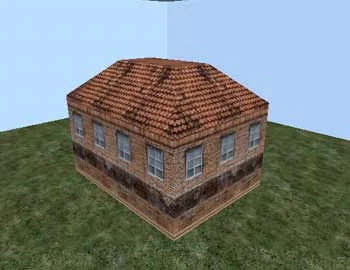
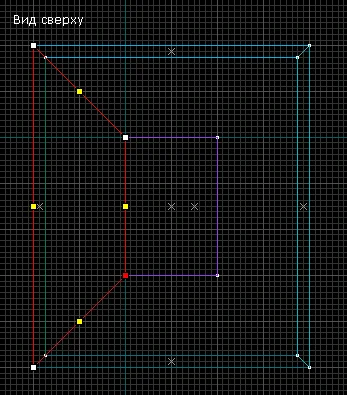 In the same way we create the remaining 3 inclined parts of the roof. As a result, the hangar roof will look like this: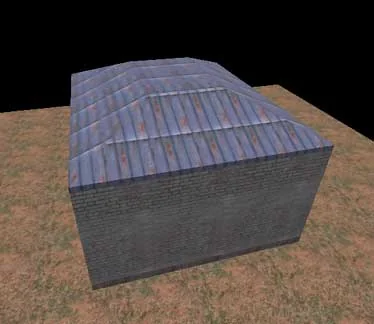
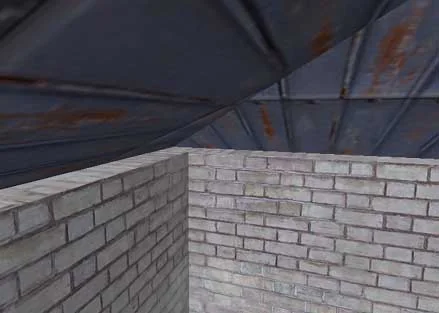
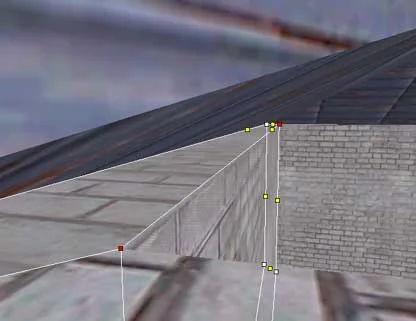
 Now there is no shelf - the walls are closely connected to the roof.