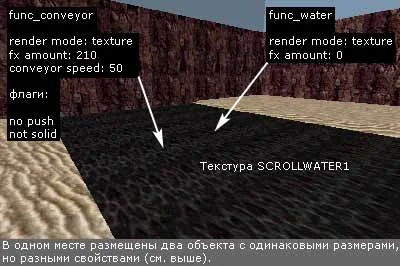
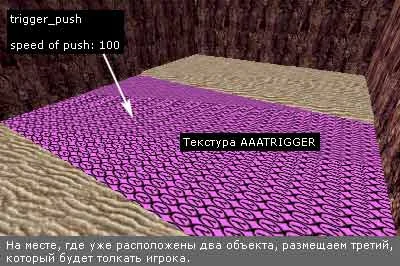
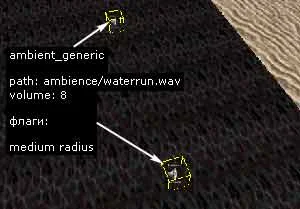
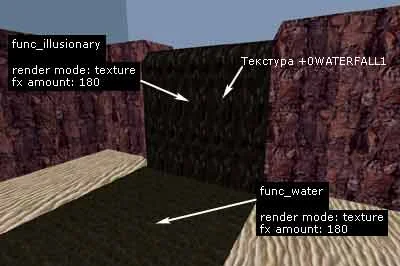
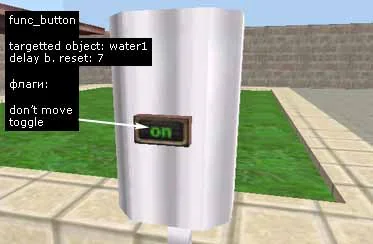
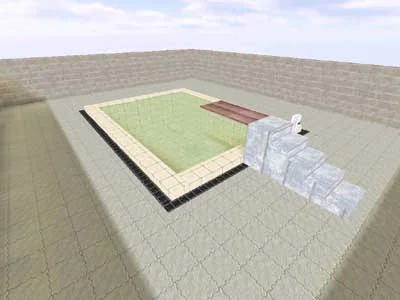
In this article we will look at several ways to create water. We recommend that you familiarize yourself with the following entity object:
The simplest water can be created in two ways. Firstly, you can simply paint a regular brush on all sides with a water texture (the name begins with an exclamation mark !). The Half-Life engine will automatically turn such a brush into water and give it the appropriate properties. You can find quite a lot of different water textures in the standard wad file liquids.wad, which is located in the valve folder.
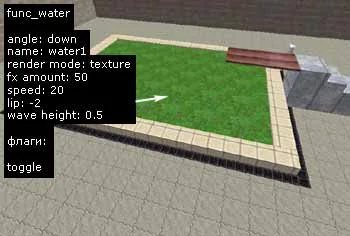
Secondly, water can be created using an object specially designed for this purpose func_water. Create a brush, color it on all sides with a water texture and turn it into an object func_water.
Below we present the main properties func_water:
Render Mode — Texture (this mode makes the water transparent. In some cases you can also use the Additive mode);
FX Amount — 45 (water transparency. The closer the value is to 0, the more transparent the water and vice versa, the closer to 255, the more opaque. With fx amount = 0, the water becomes completely invisible);
Wave Height — 0 (wave height - ripples of water. Here you can specify both integer and fractional values, for example, 0.3, 1, 2.5, etc. Wave height is measured in units. We recommend not making the wave height too high, because it looks quite ridiculous)
These are the main parameters that need to be changed when creating water. The rest are used in special, rare cases.
Differences between water from a brush and func_water
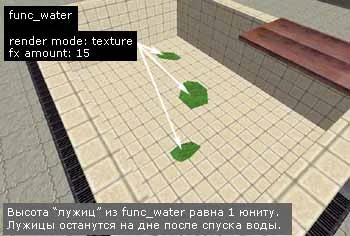
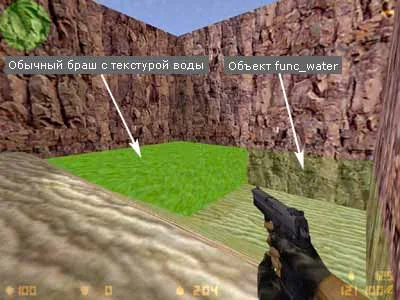
The water from the brush is opaque and has no waves. In any case, we recommend using the object func_water, because In this case, the water looks more realistic and beautiful. In the picture below you can see the differences between water from a brush (left) and from func_water.
Tip: if you want to create water in a hole in which in the middle (or somewhere else) there is a piece of rock protruding from the water, then it is not necessary to create several separate objects func_water, which will fill the hole, surrounding the hill on all sides. It is enough to create one object and "fill" the hole through the hill with it.
Secondly, water can be created using an object specially designed for this purpose func_water. Create a brush, color it on all sides with a water texture and turn it into an object func_water.
Below we present the main properties func_water:
Render Mode — Texture (this mode makes the water transparent. In some cases you can also use the Additive mode);
FX Amount — 45 (water transparency. The closer the value is to 0, the more transparent the water and vice versa, the closer to 255, the more opaque. With fx amount = 0, the water becomes completely invisible);
Wave Height — 0 (wave height - ripples of water. Here you can specify both integer and fractional values, for example, 0.3, 1, 2.5, etc. Wave height is measured in units. We recommend not making the wave height too high, because it looks quite ridiculous)
These are the main parameters that need to be changed when creating water. The rest are used in special, rare cases.
Differences between water from a brush and func_water
The water from the brush is opaque and has no waves. In any case, we recommend using the object func_water, because In this case, the water looks more realistic and beautiful. In the picture below you can see the differences between water from a brush (left) and from func_water.
Tip: if you want to create water in a hole in which in the middle (or somewhere else) there is a piece of rock protruding from the water, then it is not necessary to create several separate objects func_water, which will fill the hole, surrounding the hill on all sides. It is enough to create one object and "fill" the hole through the hill with it.